9.1.8 RaspberryPi のカメラに関する注意
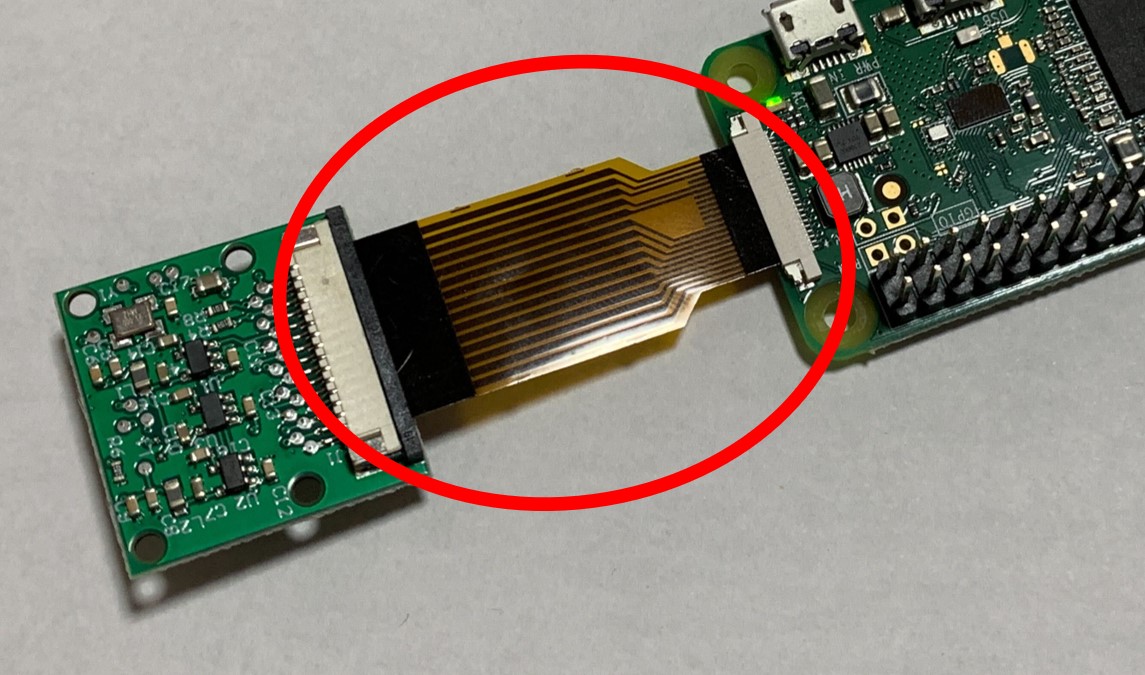
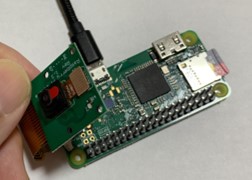
- 接続端子とフラットケーブルは壊れやすい
- 無理に引っ張らない
- 折り曲げないように注意する
カメラの動作テスト
まずカメラが認識されているかを確かめましょう。
$ rpicam-still --list-cameras
Available cameras
-----------------
0 : ov5647 [2592x1944 10-bit GBRG] (/base/soc/i2c0mux/i2c@1/ov5647@36)
    Modes: 'SGBRG10_CSI2P' : 640x480 [58.92 fps - (16, 0)/2560x1920 crop]
                             1296x972 [43.25 fps - (0, 0)/2592x1944 crop]
                             1920x1080 [30.62 fps - (348, 434)/1928x1080 crop]
                             2592x1944 [15.63 fps - (0, 0)/2592x1944 crop]
0 番のカメラが一覧に出ていれば、フラットケーブルの向きも接触も問題ありません。
認識できたら、撮影に進みます。
rpicam-still --width 640 --height 480 -o test.jpg
作業ディレクトリに test.jpg ができていれば、動作確認は終わりです。